Calling All Knitters!
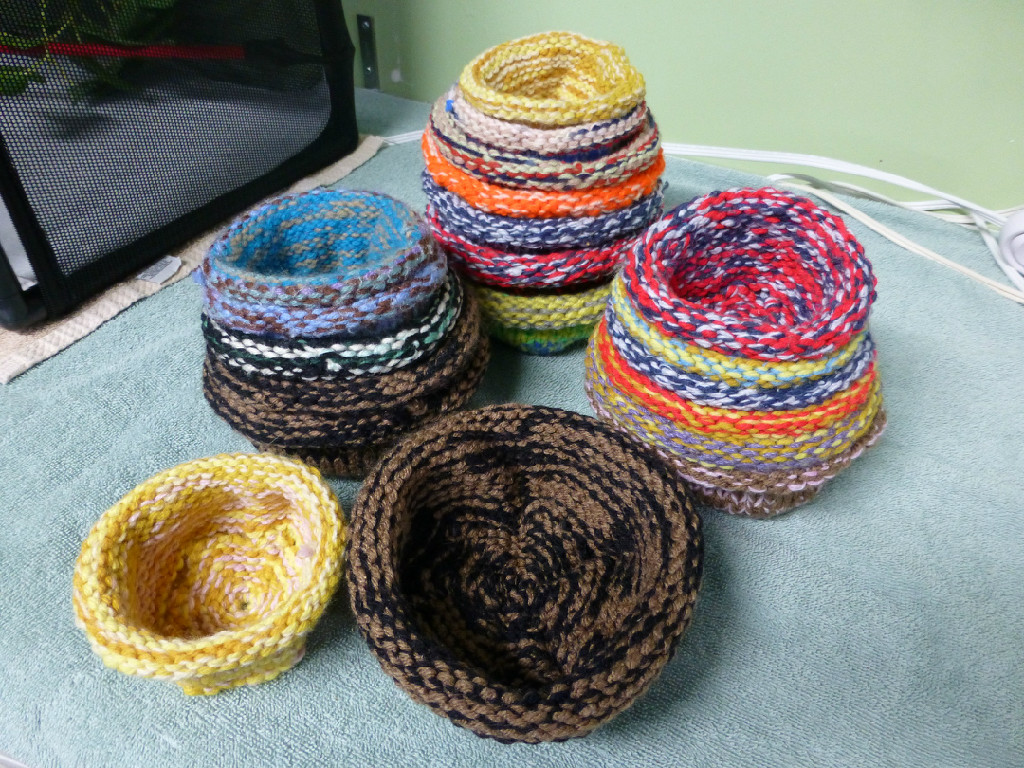
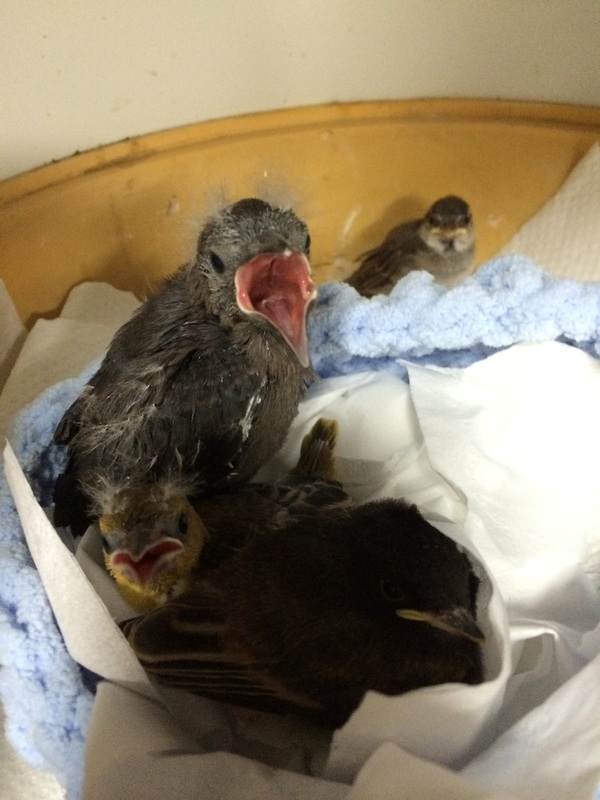
Knitted and crocheted nests provide our baby birds with warmth and cushioning. Since the nests are soft, they move with the birds, preventing injury to delicate feathers. And baby birds are fed 12 hours per day, so the nests are changed frequently and washed. We always need more!
Birds come in different sizes. The knit and crochet patterns below will make a small nest. Knit a larger nest by starting with more stitches. Crochet a larger nest by continuing to increase to your desired size. Nests any size from 3 to 7 inches in diameter allow us to accommodate a variety of bird sizes as well as several baby birds from the same nest.
We are also using knitted and crocheted nests for our baby squirrels to provide them with a soft and warm place to sleep. The same sizes as for birds can be used for our squirrels, but in particular for these little guys, we would like to have felted nests. This prevents their claws from becoming caught in the stitches. Felted nests should be knit or crocheted with non-super wash wool. Then when washed, the stitches will become matted.
How to Make Knit Nests for Baby Birds
Tips and Notes:
1) To make sure the nest is tight and washable, use two strands of a washable yarn (using two different colors makes counting stitches easier). Use three strands if the yarn is very fine.
2) Use double pointed needles - just about any size from 5 through 9, depending on the weight of the yarn. (You can use circular needles if you prefer.)
3) When doing K2tog, it seems to be easier to knit through the back loops rather than the front. If you're still having problems with K2tog, try using a crochet hook to pull the yarn through.
4) Only decrease to the point where you have a small, easily closed gap in the bottom of the nest; otherwise there can be a bump on the bottom that can make the nest unstable.
5) Directions given are for nests that are about 4" across. Cast on fewer stitches for smaller nests. They knit up so quickly, it's easy to experiment. (If the nest is much smaller, start the decrease with K6,K2tog.)
6) The yarn should not be fuzzy, so toes don't get caught.
Instructions:
- Using 2 strands of yarn, cast on 54 stitches, then divide evenly among 4 dpns.
- Work in stockinette (all K stitches) until the nest is approximately 3" tall.
- Purl one row, then start Decrease:
Row 1) K7, K2tog - repeat to end
Row 2) K6, K2tog - repeat to end
Row 3) K5, K2tog - repeat to end
Row 4) K4, K2tog - repeat to end
Row 5) K3, K2tog - repeat to end
Row 6) K2, K2tog - repeat to end
Row 7) K1, K2tog - repeat to end.
See tip #4 above to determine if you want to continue in this pattern for one more row.
Cut yarns, leaving a 6" tail. Slide yarn on needle, draw tight to close up end (put a few stitches across the gap if need be). Weave in yarn and cut off.
Don't Knit?
AND THANKS SO MUCH FOR YOUR SUPPORT!


